Getting started with BluBracket
Getting started with BluBracket is a three step process:
- Sign up
- Add a code server
- Start improving security
Signing up
To start using BluBracket for free, visit our signup page and click the start for free button.
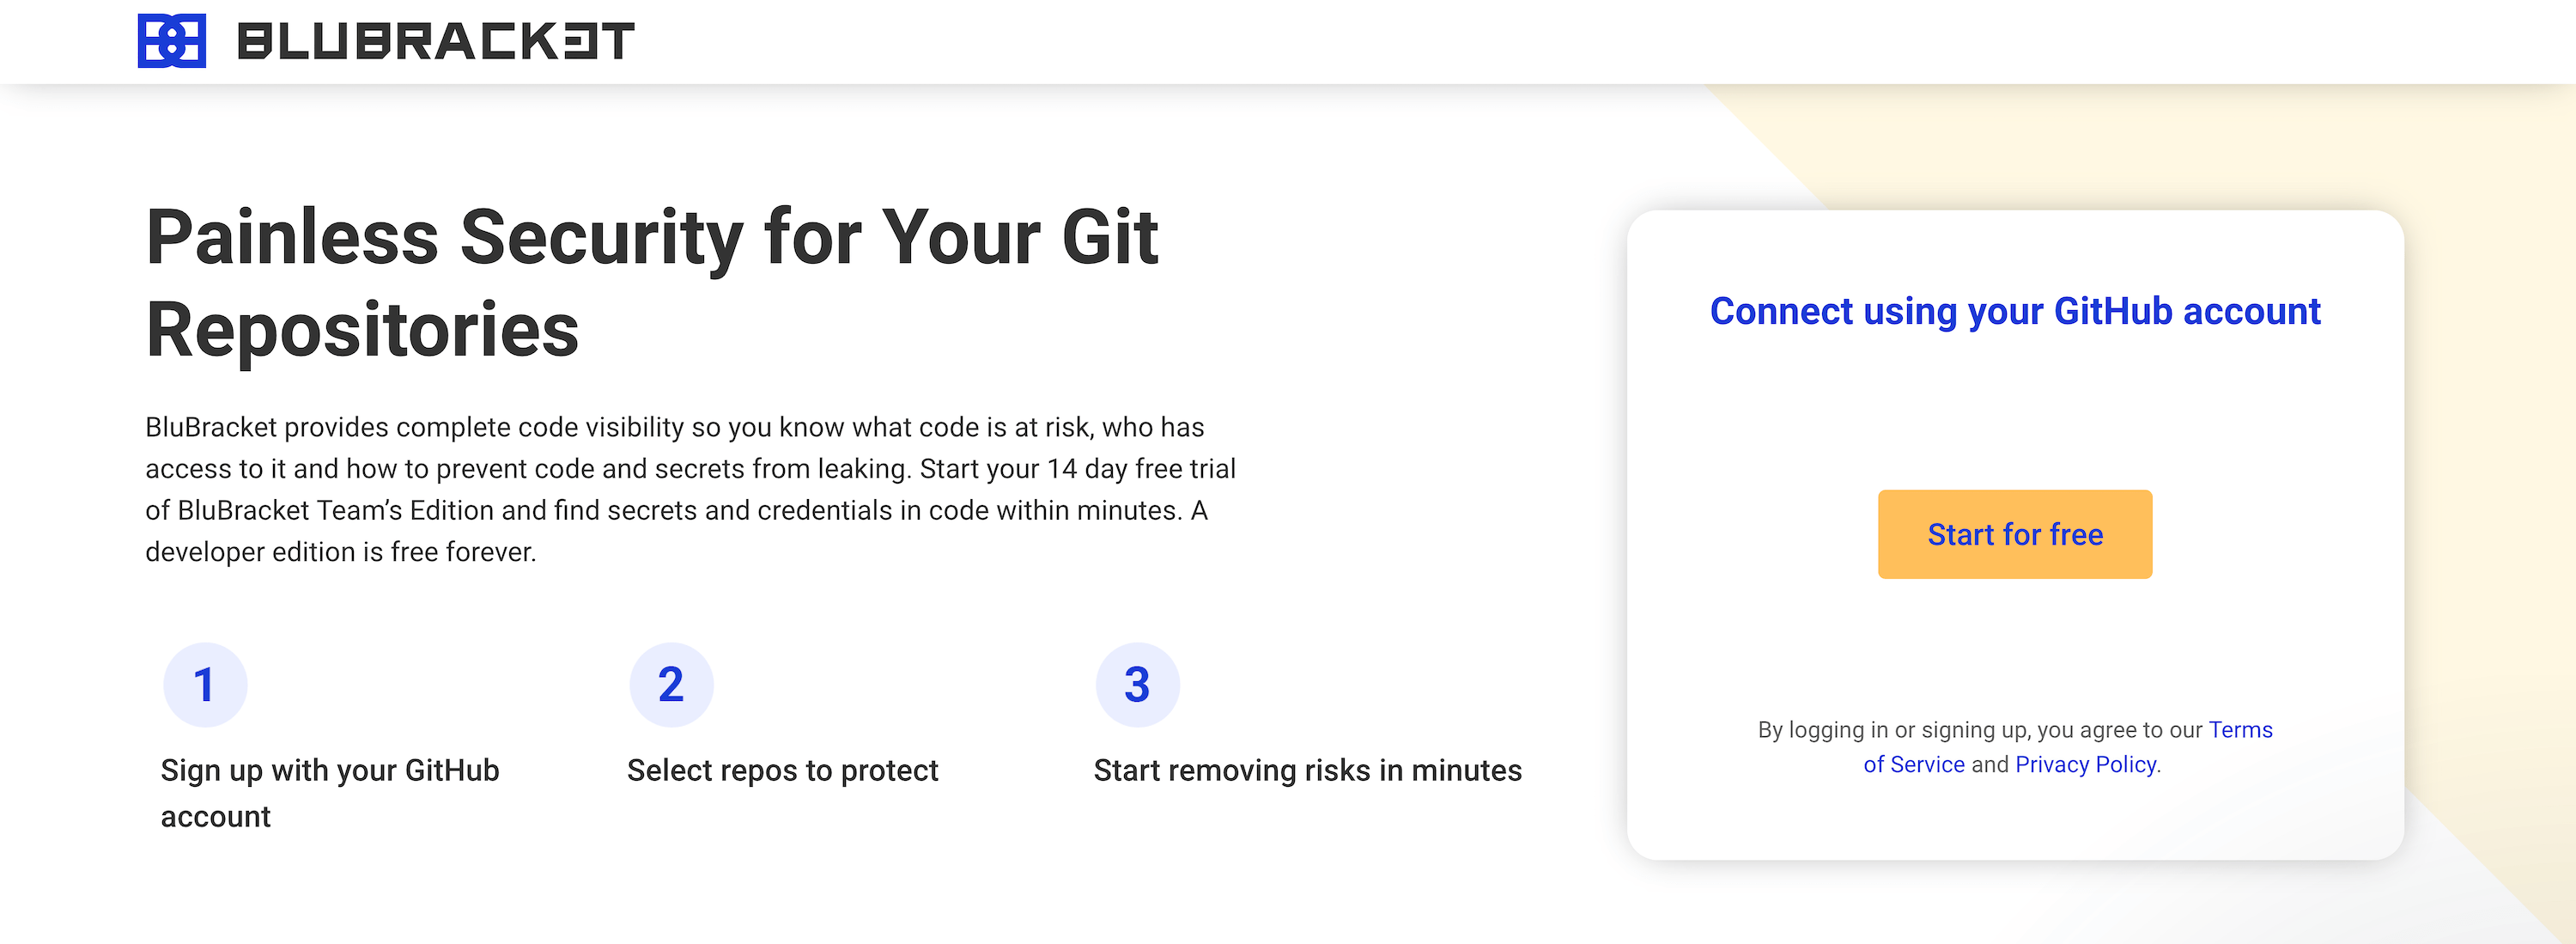
Begin your three-step process by clicking the start for free button.
Then approve the GitHub OAuth request.
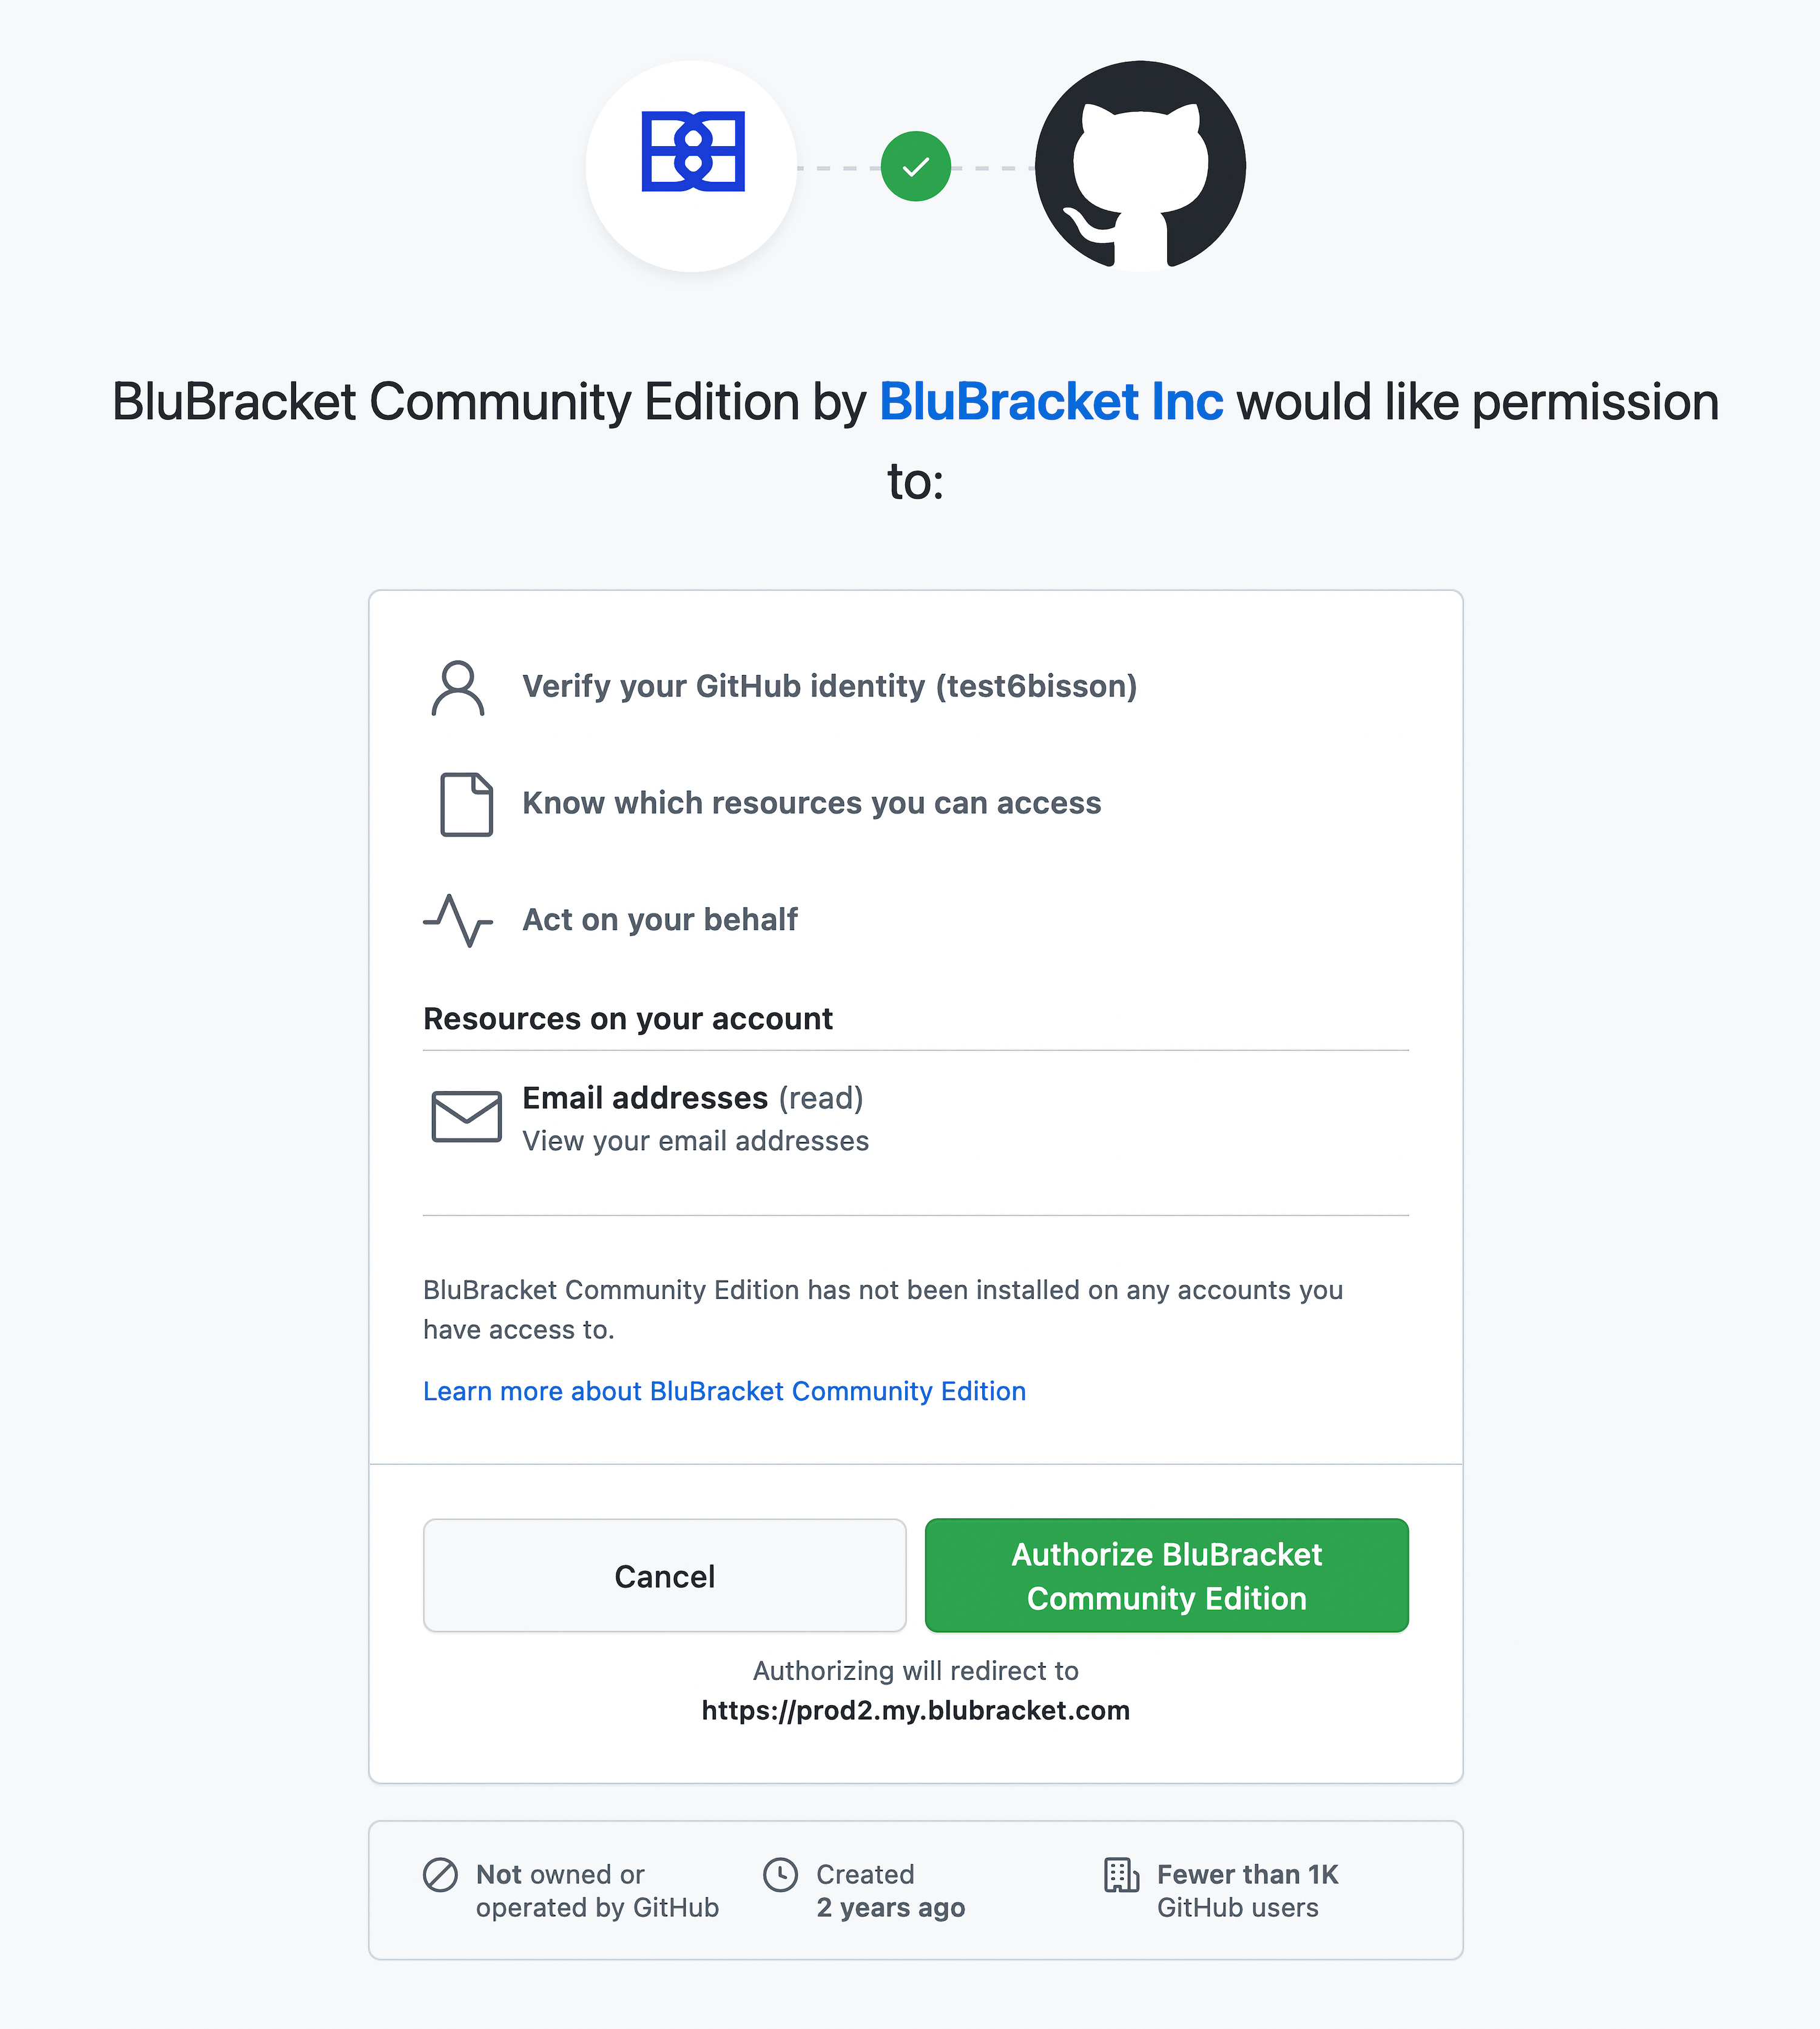
Accept the GitHub OAuth request.
After authenticating and approving the permissions to sign in with GitHub, we’ll create a free account for you.
Bookmark your account so you can come back easily.
Signing in
Refer to your welcome email when you first signed in to BluBracket for your personalized account dashboard URL. You must use this URL in order to sign in.
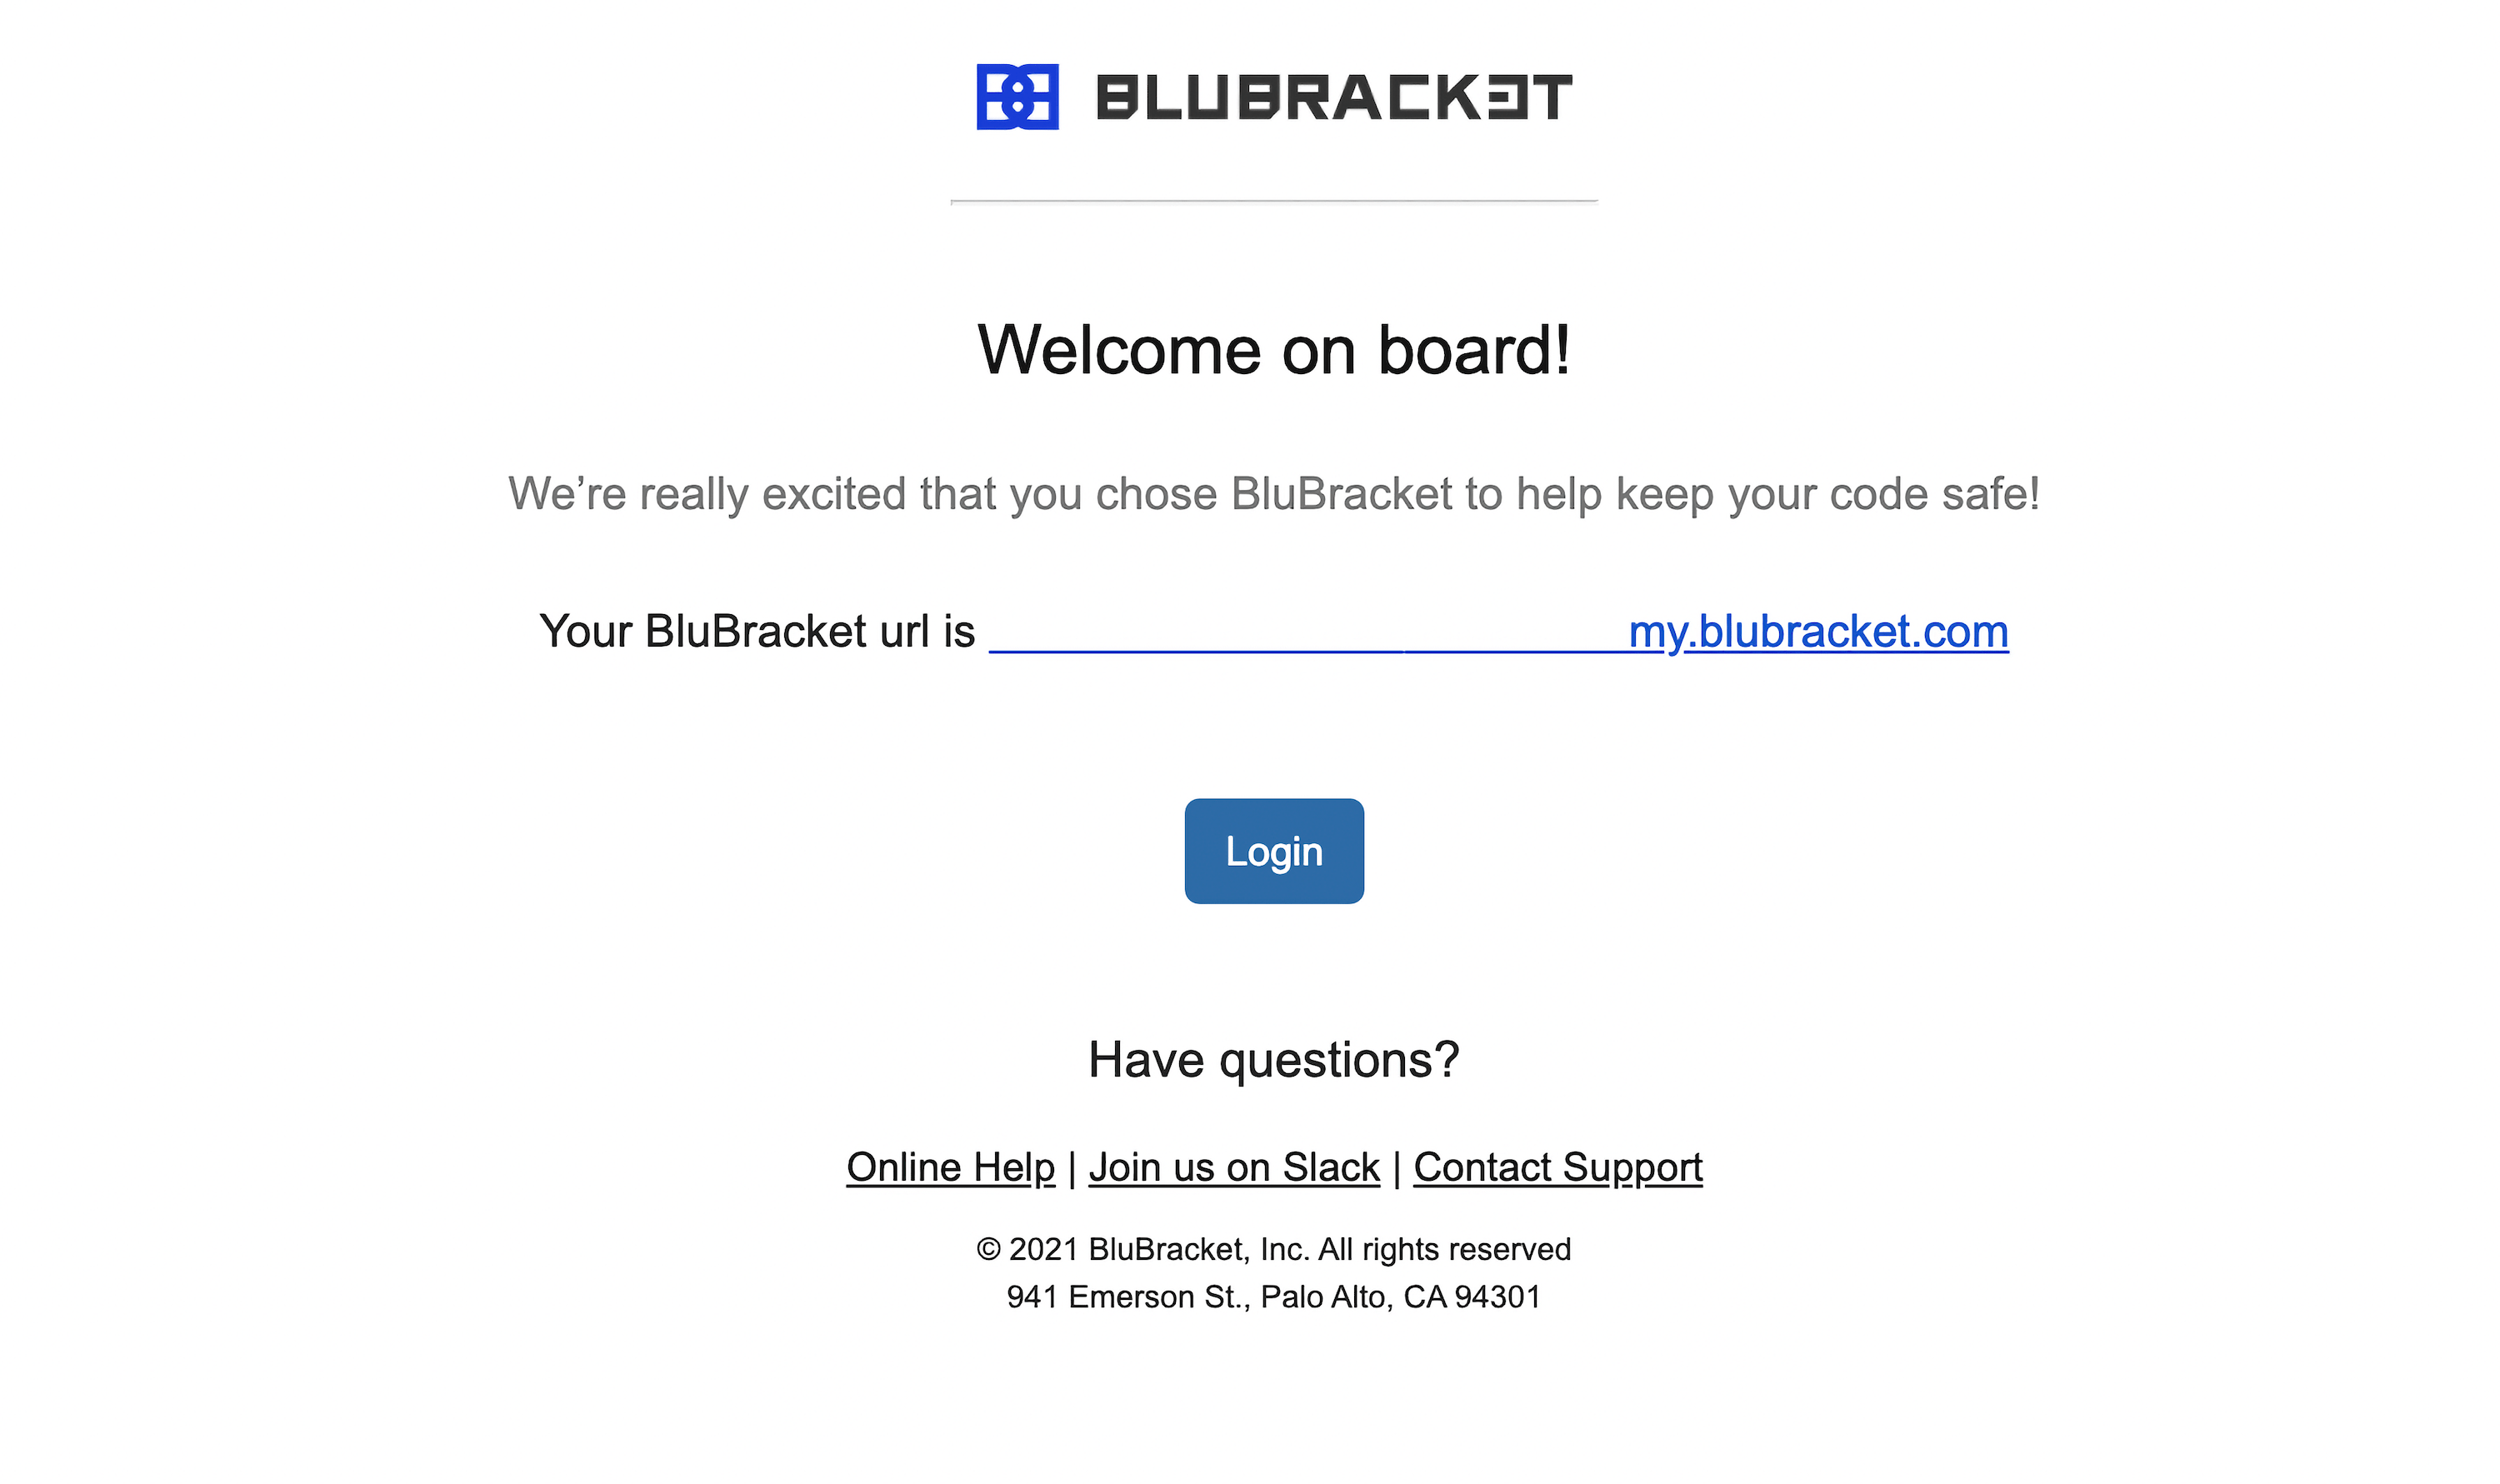
BluBracket provides your login link through email.
Adding your first code server
Go to Settings → Code Servers in the BluBracket web console to add repos from your GitHub, GitLab, Bitbucket, or another supported code server.
Full details about how to add a code server are available in the usage guide .
Improve your code security with every commit
- Add BluBracket to your workflow with GitHub Checks or the CLI tool so you can identify risks before your next commit.
- Review existing risks to understand your overall code health and make a plan for what is urgent and what can wait.
- Track your security health improvements with every commit.